Write a WordPress Blog Post!
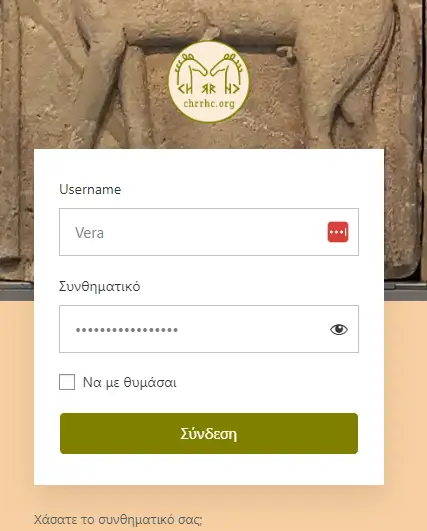
Log in
Dear Vera, this is your moment of glory. You are about to write your first blog, complete with photos, charts, and moving images.
First, you need to log in to your WordPress dashboard. Click the following link, which will open in a new tab:
Your username is: Vera
Your password has been sent to you by email, and is now in your head.
You will be logged in as an Author, not as an Administrator. This way, you will only be able to write blog posts. The rest is my work. Also, you can not f#ck up the whole website.
Good luck, and let’s go ahead!
New Post
Once in the Dashboard, choose the Greek language. Press “New” and “Post”.
Translations can be added later.
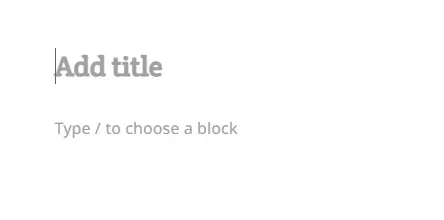
Add Title
The first thing you’d want to do, is to add a title. In my case, I pasted “Χωρέυοντας με τα άλογα; Πάντα!”
The title will automatically become the slug, which is the last part of the post’s address.
Paste Content
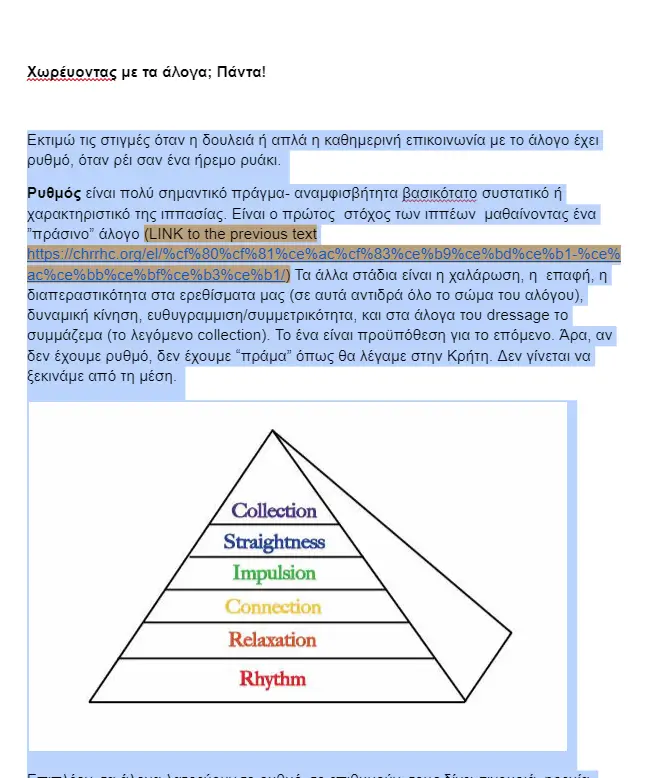
Now, the best way to paste content in the blog, is from a Google Document. Microsoft Word adds a lot of bloat to the HTML, which we rather don’t want. Of course, you could paste as plain text (which I prefer), but you would lose all your precious formatting, like Bold, Italic, line breaks and so forth. These can be easily restored within WordPress, but I don’t want to saddle you up with more difficulty.
Just select all content in the document, copy it and paste it into WordPress. Be sure to make line brakes between the paragraphs with the Enter key, to make later editing easier. We have to insert images and videos, and for that we need paragraphs in order to properly place the media.
Inline images in the source document will not be copied. We will have to add them later.
Now let’s save and watch the page!
About Photos
We can not just upload our photos like they come out of the camera. They will add many Megabytes to the page, which will make it load slower.
The problem here is not the server. It’s got NVMe SSD storage, which is 35 times faster than a hard drive, many Gigabytes of DDR4 memory, and a six-core Intel Xeon processor operating at an amazing clock speed. Software is of the latest standard, like Ubuntu 24, PHP 8.3.10, Nginx 1.26, and Redis 7.0.15. Its connection to the Internet backbone has a bandwith of 1.000 Mbit/s – 20 times faster than at my home.
Therefore, you can rest assured that any post or page will be sent in milliseconds.
The situation at the visitor’s side is a totally different one. Often she has a poor connection, and her hard- and software are not always the latest. For every page, she has to download all assets before viewing, like HTML, CSS, Javascript, en of course, images. Only when everything is there, can the browser (often Google Chrome, not one of the fastest) start constructing a page from these separate ingredients, with the help of the available processor and memory.
Since images are the biggest part of the total pudding, they are to be as small and light as possible. One photo can easily double the weight of the entire page in MB.
In the next chapter, I’ll tell you how to take the weight off your pictures.
Step 1: Resizing
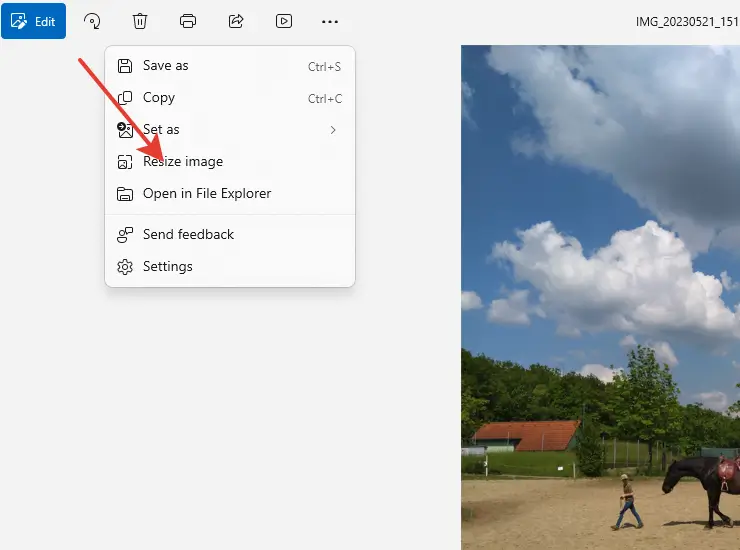
In Windows 11, the standard Photo Viewer offers some basic editing tools, like cropping and resizing. You could use any other tool to reduce the amount of pixels.
What size?
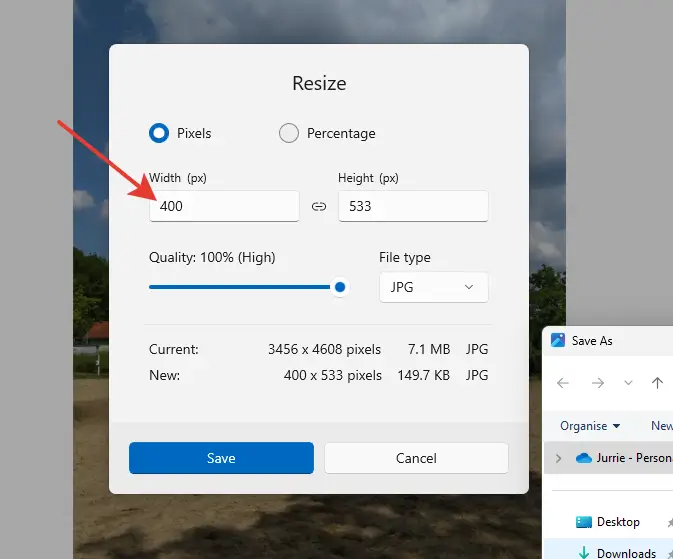
Basicly, in the blog we use 2 sizes: 800px and 400px. This is the width. The height will be adjusted automatically. When a photo takes the full width of the blog, it is 800px max. When it is left or right aligned with text next to it, 400px is more than enough. We could even make it less wide, but it wouldn’t fill the full width of the mobile phone anymore.
Adjust the quality slider to 100%. Compressing is done later.
Step 2: Compressing
We have gone from 7.1MB to 149.7KB with this image, a big difference! For your super fast loading post however, this still isn’t enough. We can take another 80 – 90% off, without any noticable visual quality loss.
The resized JPG picture on the left is 127KB.
The WEBP on the right is 22KB.
A 83% weight loss!
Do you see any difference? Then visit your optometrist!

Meet Panda George!
George is the mascotte of TinyPNG, an online image compressing tool. Click the link to go to the tool, in a separate tab:

Since we want WEBP, a format than can reduce file size with 80 – 90%, we press the according button.
Now we drag our resized photos in the tool, and download the results.
*it says there’s a limit of 3 WEBPs per session, but every time you refresh the page, a new session starts. Don’t forget to select WEBP again!
Insert the media into the blog post
Now that we have all our lightweight images ready, it’s time to insert them in the body of the post.
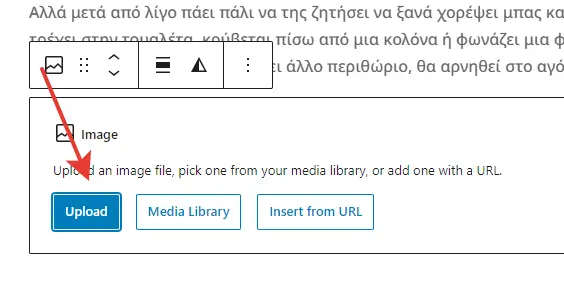
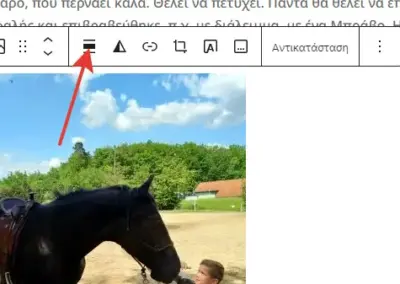
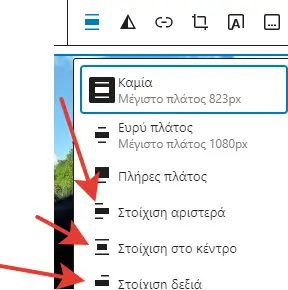
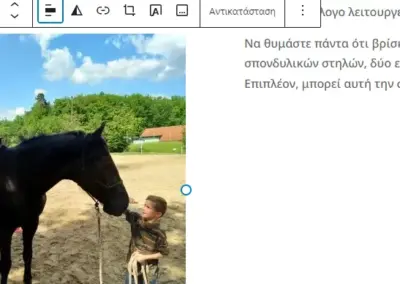
Since we have seperated our paragraphs with a line break, WordPress will have converted all paragraphs into blocks. Inbetween these blocks, we are going to add our pictures. Full width (800px), left aligned, and right aligned (both 400px max).
To be honest, I’m no expert on the new WordPress Gutenberg Block Editor. I’ve used the classic one since the beginning, and for pages I use the Divi Pagebuilder. So, we’re both learning!
Videos are a totally different story. We’ll discuss them later!
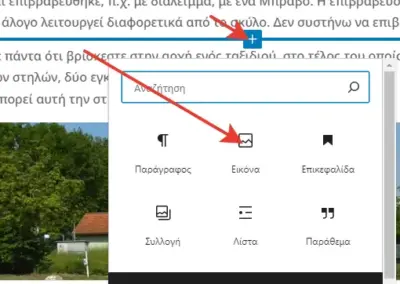
Placing the cursor somewhere between the text blocks, a blue line appears. We press the + icon and we can choose our image.
Adding a featured image, and an excerpt
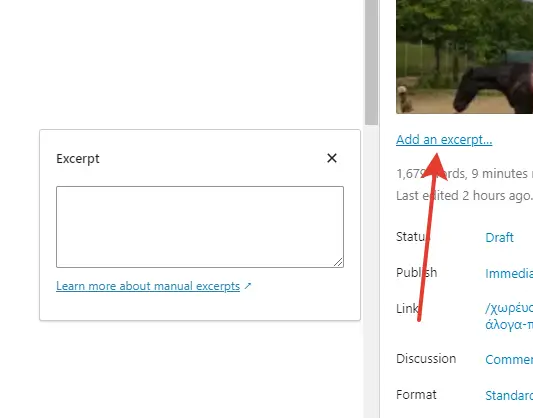
I forgot to mention the featured image, and the excerpt. Both appear in the overview of the posts, and the image on top of each blog as well.
Be sure to crop, resize and compress the featured image.
The width should be exactly 320px, the height does not matter much.
ChatGPT creates nice summaries. Just feed it the whole article, and ask for an excerpt in no more than 50 words.
About videos
Hosting videos on your own server is a bad idea. The server has not been built for streaming. Bandwidth will be taken away from other websites (in my case, about 25) and the experience will not be optimal. One has to find another source of streaming.
YouTube is the first that comes to mind, but I totally dislike it. To get paid for the free service they offer, they make use of marketing techniques like placing adverts, showing unrelated “related videos” at the end of your movie, cookies, tracking pixels and probably a lot more, that we don’t even have knowledge of. Besides, it looks bad on your website. The screaming red play button will destroy your carefully thought of design, and your video will be covered with buttons for sharing, embedding, liking, pinning, tagging, tweeting, tik-tokking, and more of the like.
Now have a look at this here little movie:
None of the beforementioned distracting elements is present, the play button and progress rail have matching colours, and the whole player looks nice and clean. There’s not even a Vimeo link.
 My MirtosTV VimeoPlus account is being used for all my clients, at no extra charge. It’s white label, the videos are hidden on the channel, and no adverts or so-called related videos are shown. Subtitles can be added, all colours of the player can be customised, and end screens can be installed with ease.
The question is, after all this boasting and bragging: how will you add a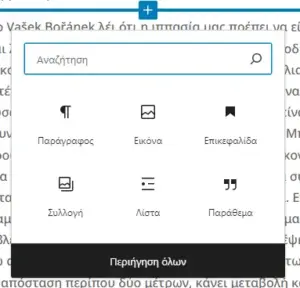 video to your post?
The best way would be, to send me the video with WeTransfer. I will upload it to Vimeo, and send you the link to insert in WordPress.
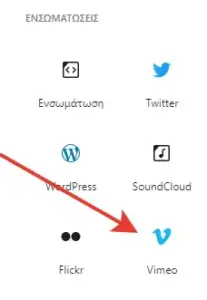
There is a Vimeo block in the toolbox on the left.
Press “Περιηγηση ολων” to see all available blocks.
Happy blogging!

